Breadboard Dock
The Breadboard Dock is the perfect solution for building breadboard circuits with the Omega. This Dock can be plugged into a breadboard, and the pins of the dock are mapped 1-to-1 as on the Omega.
The Hardware
The Breadboard Dock provides power to the Omega via a Micro-USB port that takes in 5V. This voltage is stepped down to the 3.3V required to power the Omega.
All of the Omega’s pins are broken out via a breadboard header. You can use this Dock with your own circuits, custom embedded applications, or just for hacking!
Connecting an Omega
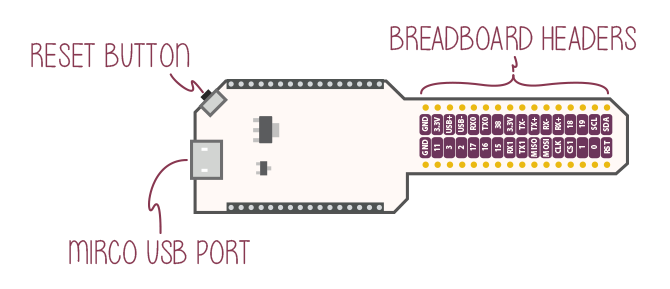
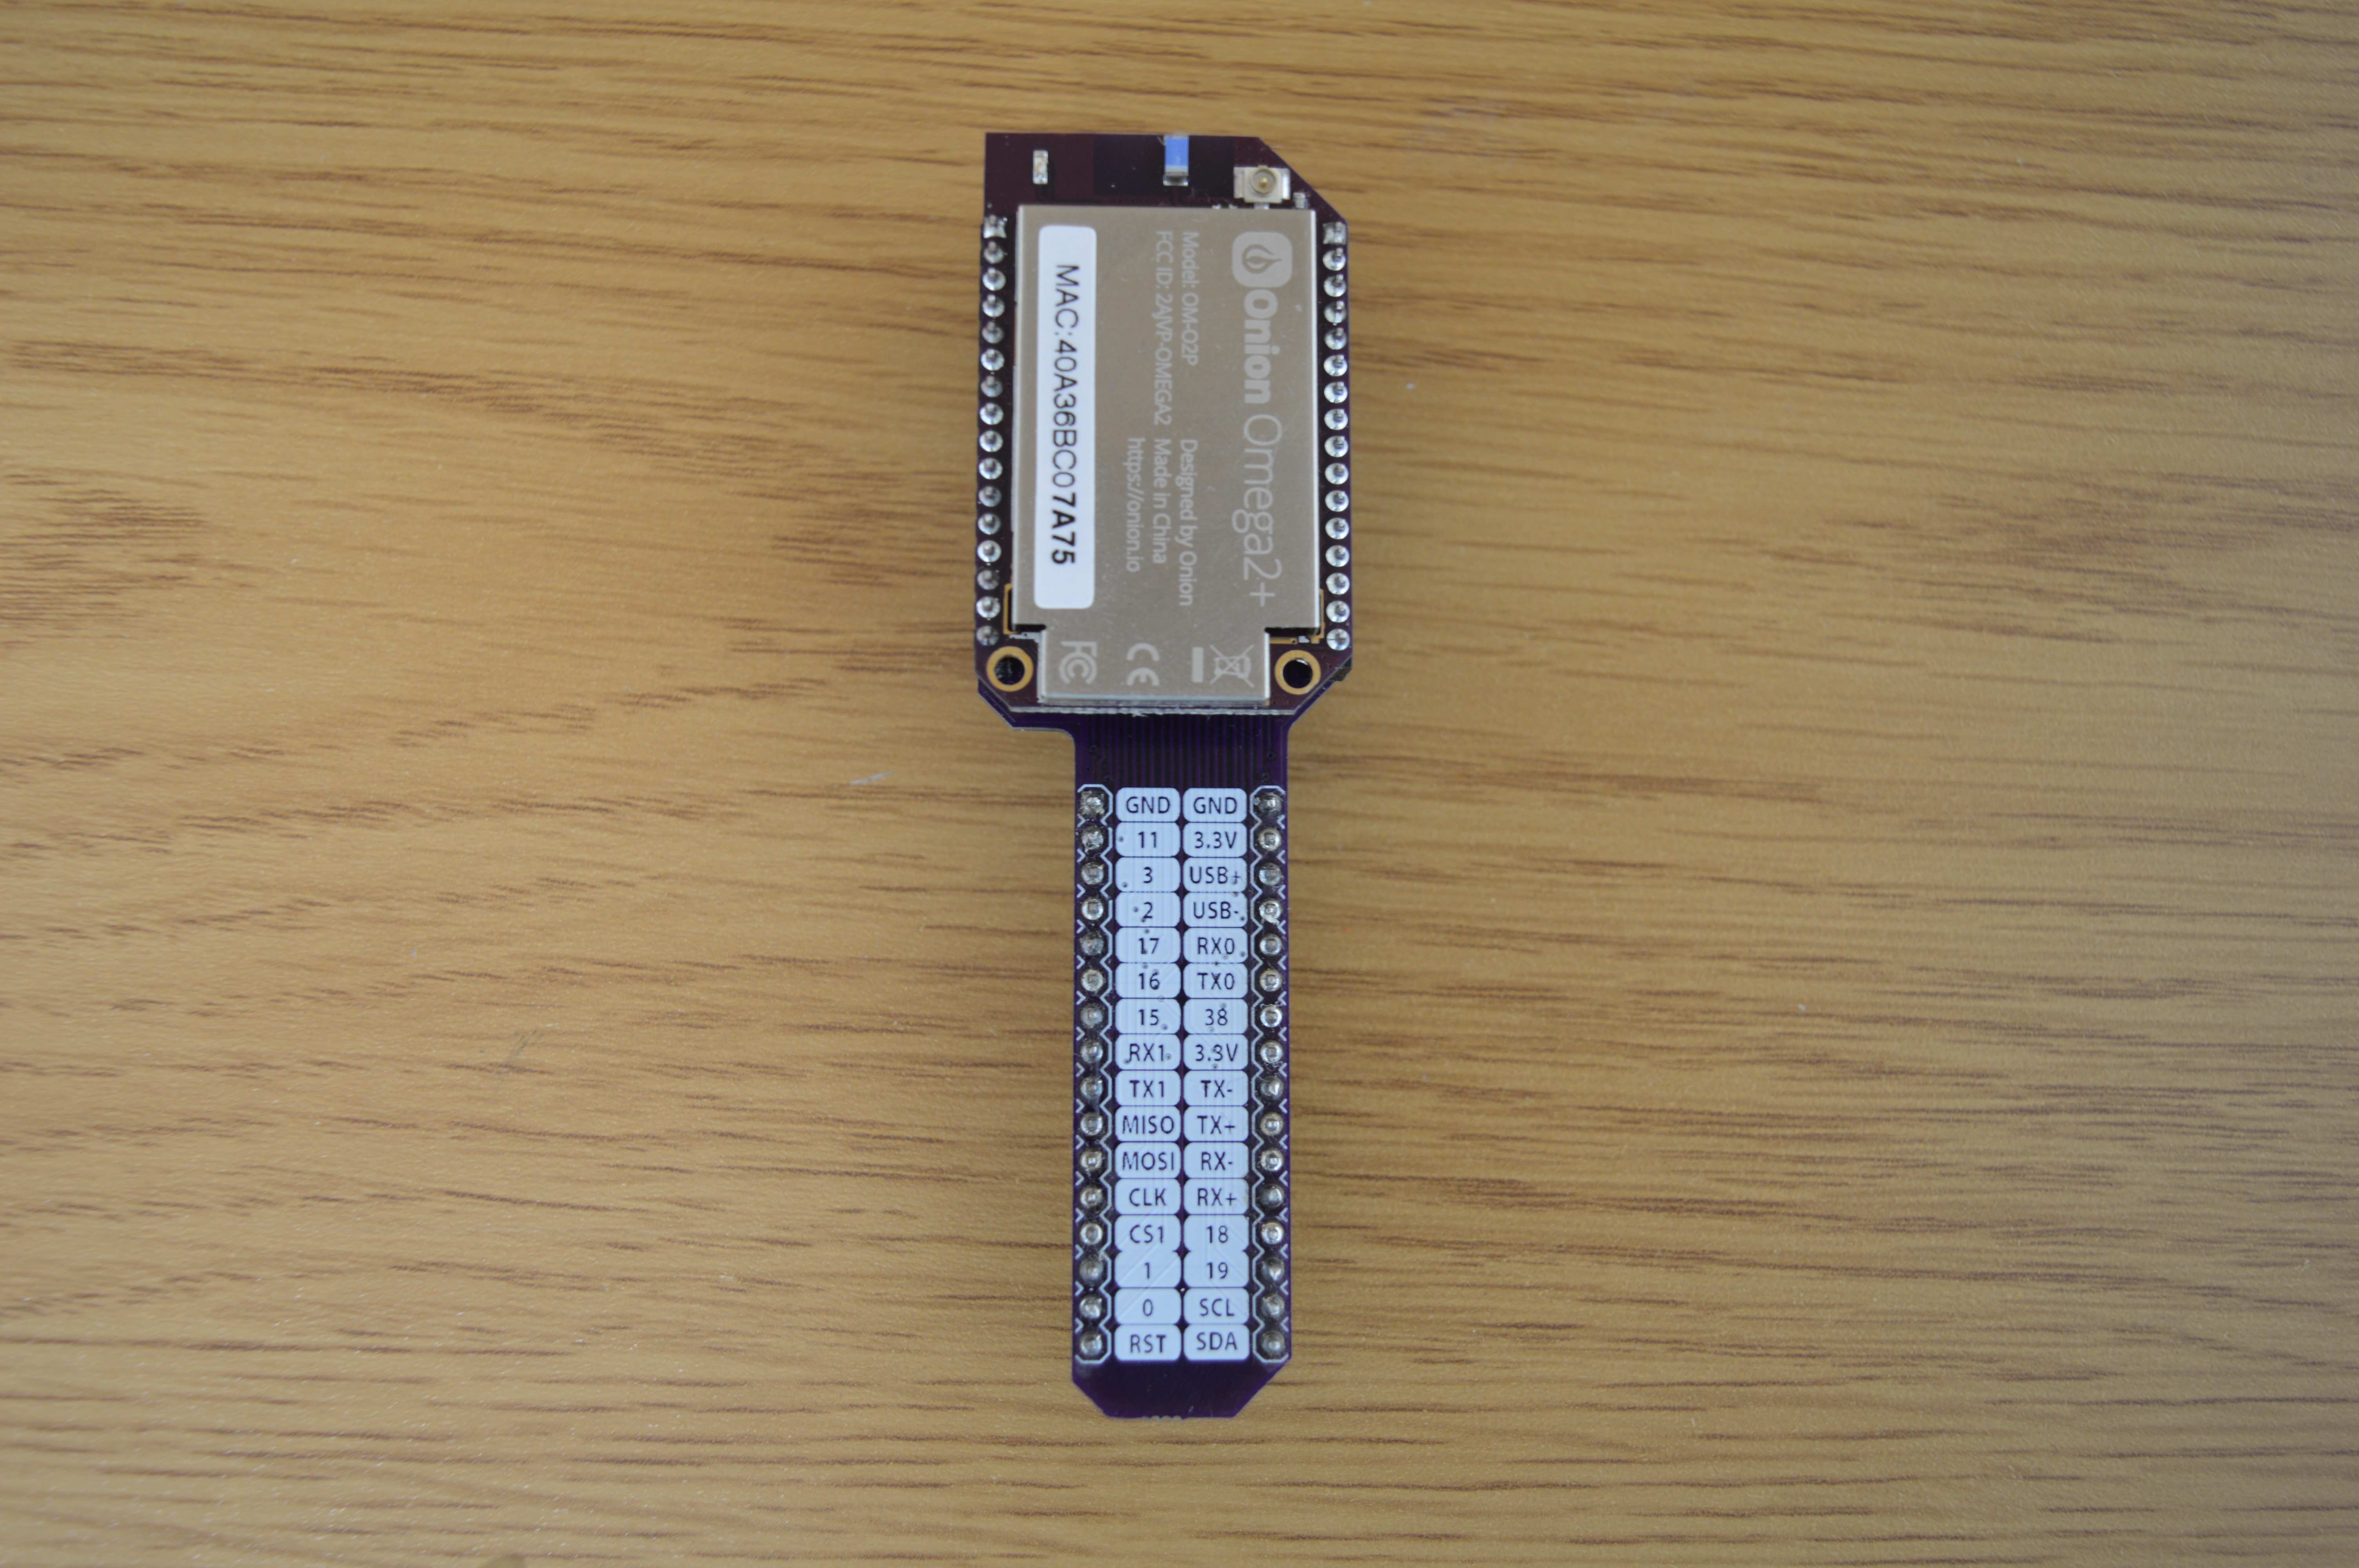
Connect your Omega to the Breadboard Dock by lining up the two rows of header pins so that the sticker with the Omega’s MAC address is on the left side of the Dock. Basically, make sure that the lines of the Omega and Breadboard Dock are aligned, RESET button is visible, and all of the pins are seated.
The Breadboard Header
The breadboard header is the part that connects the Dock to your breadboard.
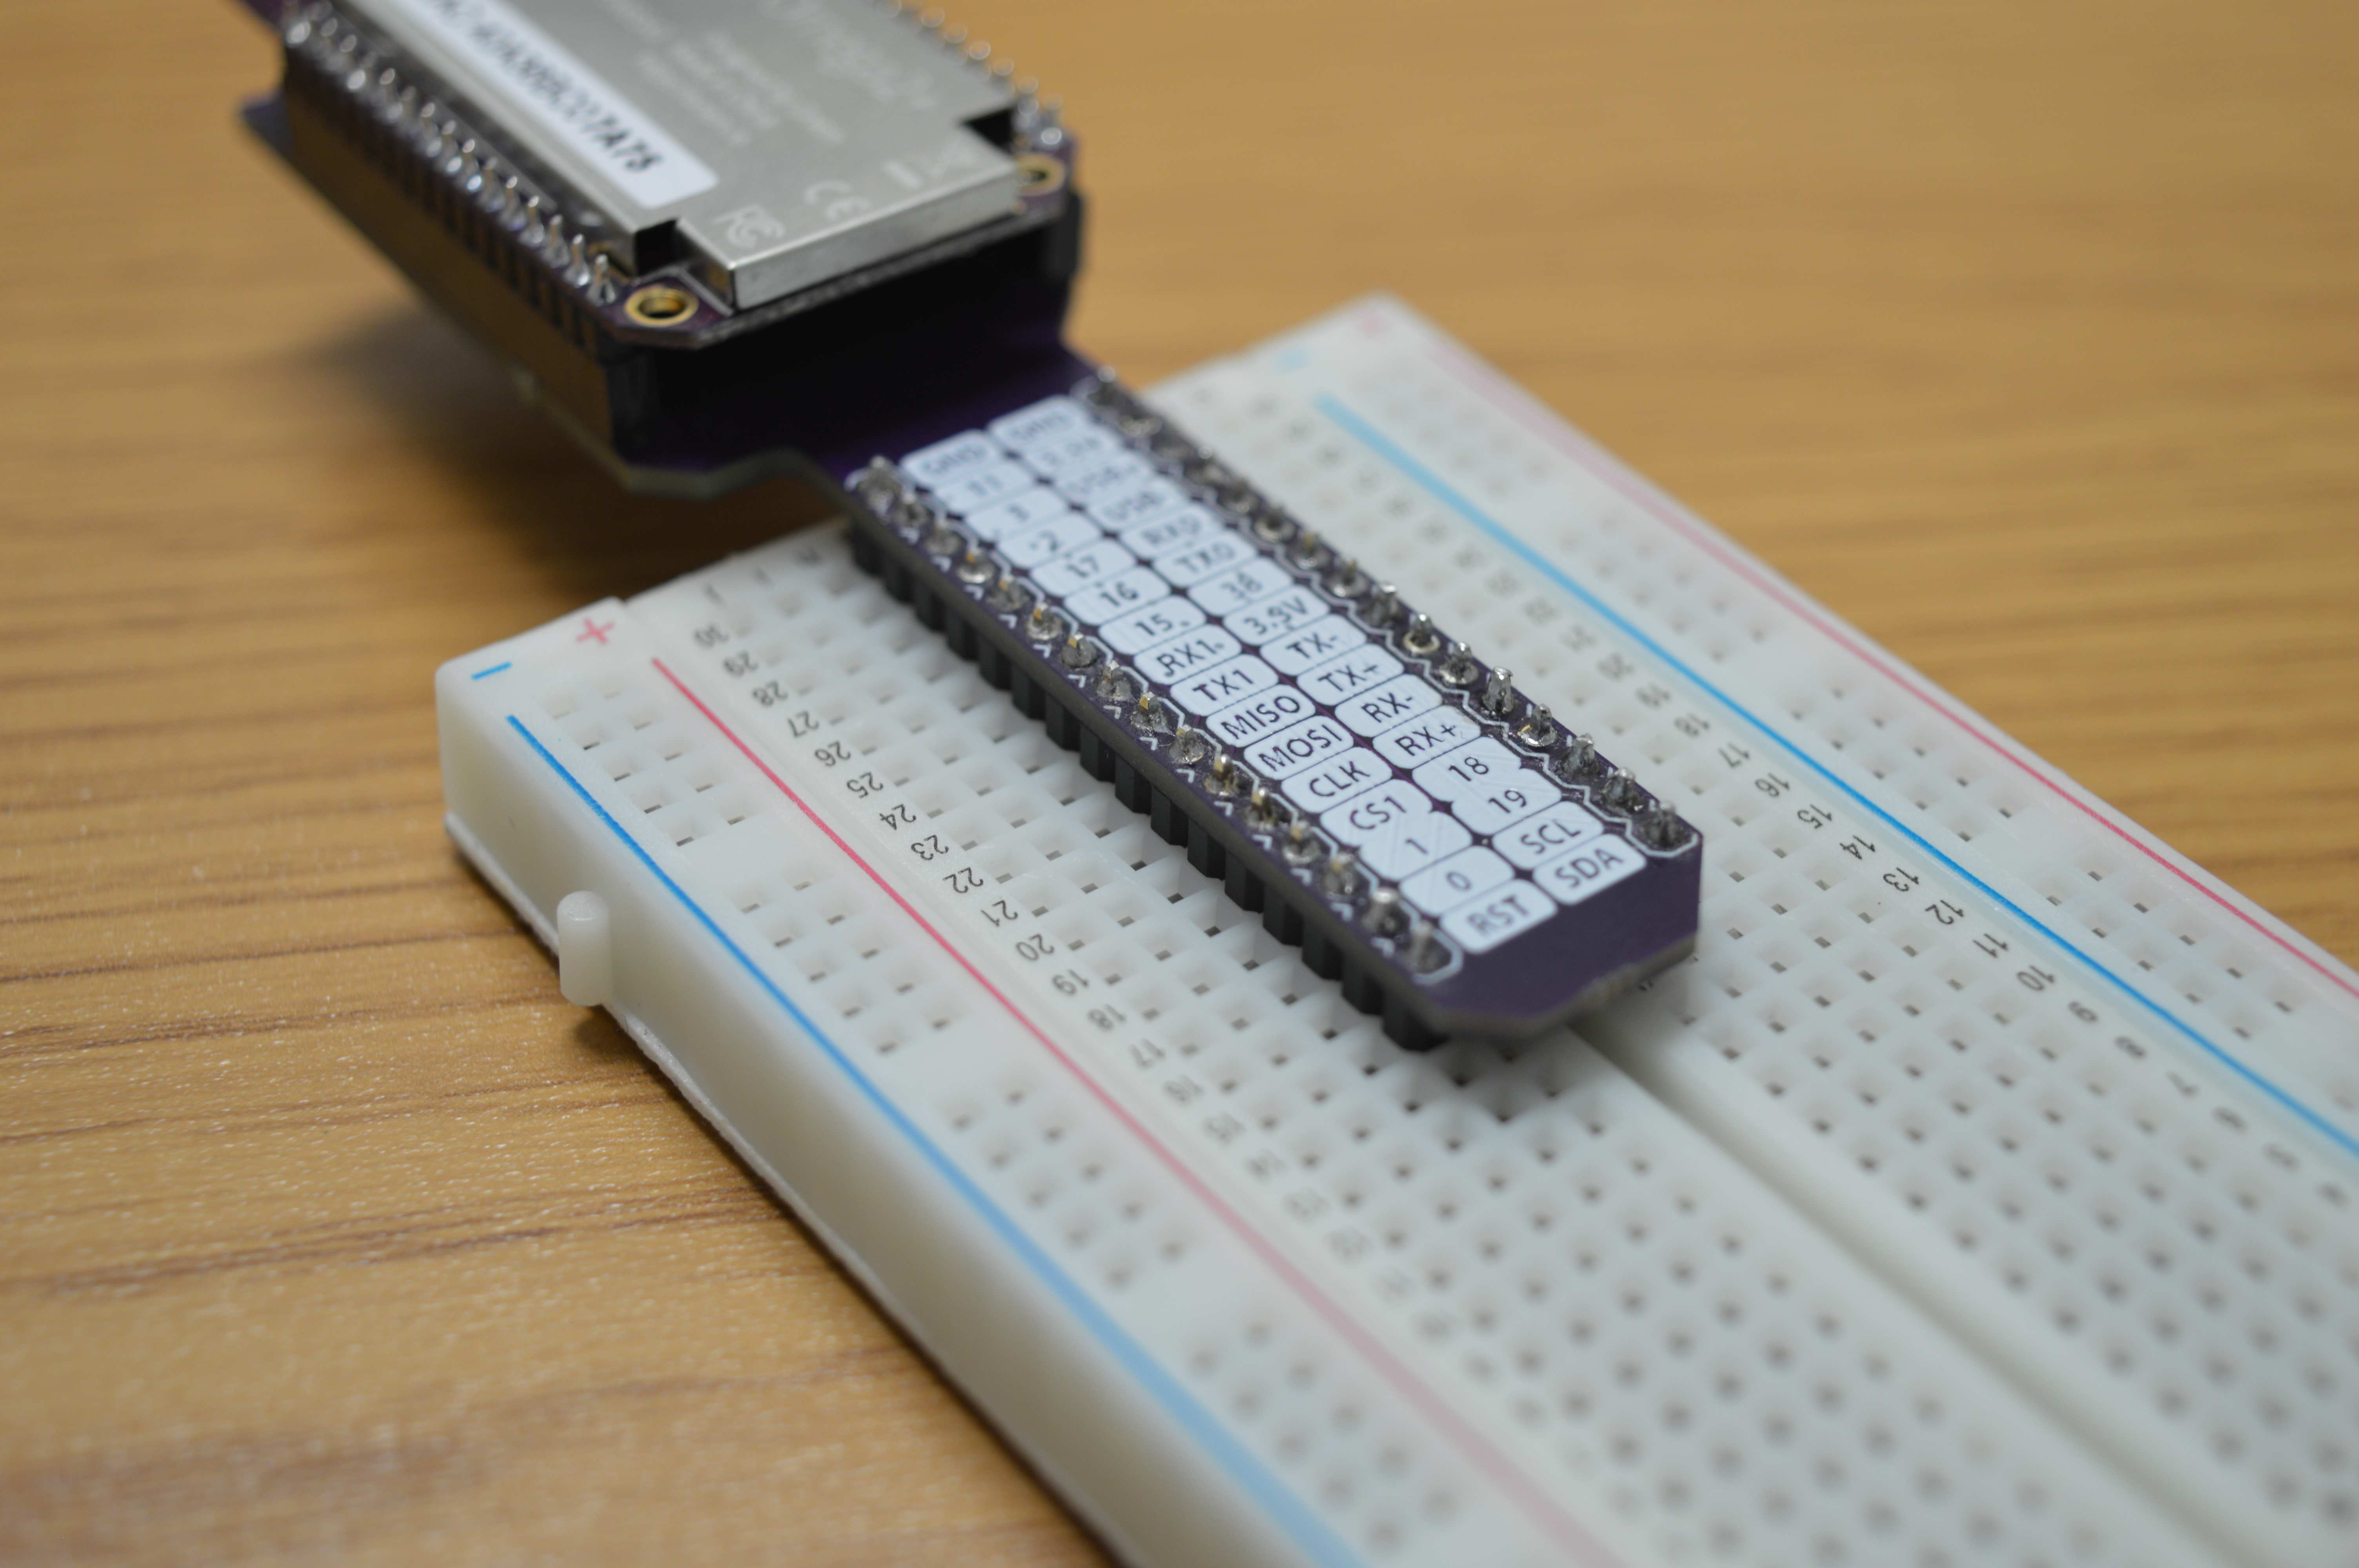
Breadboards have a slot in the middle that divides them in left and right halves. Position the Dock’s pins along the length of the slot and line up the pins so that they land on each side of the breadboard.
IMPORTANT: Make sure the pins are separated by the slot before connecting to power, or they will be short-circuited! Otherwise this WILL damage your Omega and Breadboard Dock!
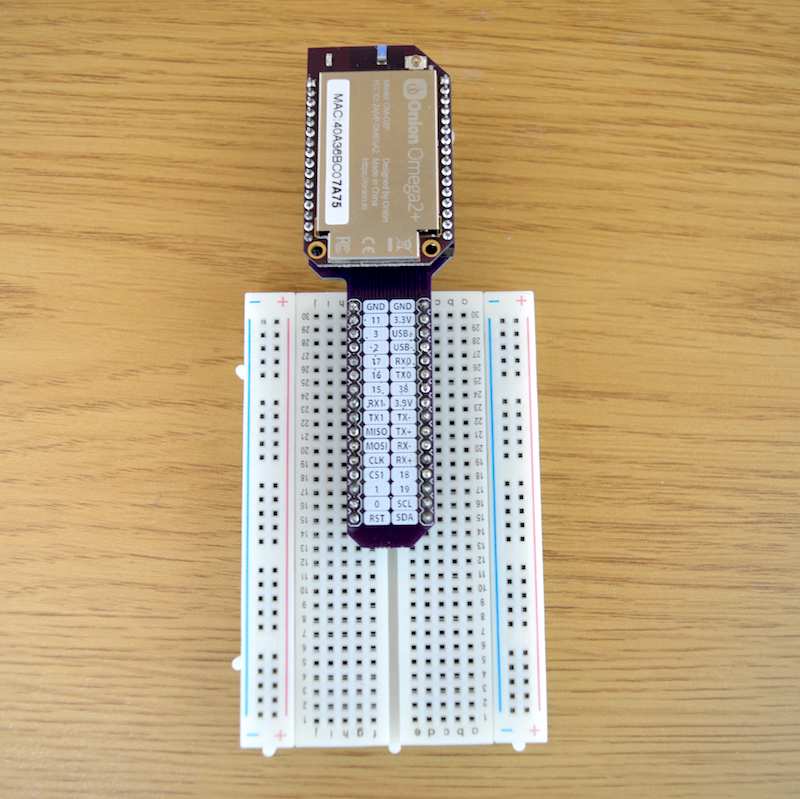
Fully insert the Dock so that all of the breadboard header’s pins fit into the breadboard as shown below.
The MicroUSB Port
The Micro-USB Port is used to supply power to the Dock, which in turn supplies power to the Omega.
The Micro-USB Port takes in 5V, and the Dock comes equipped with a voltage regulator to step the voltage down to 3.3V required for the Omega.
No USB-to-Serial
There is no USB-to-Serial Chip on the Dock. This means that you will not be able to connect to the Omega serially over the Micro-USB port.
You can still connect to your Omega’s terminal with SSH, you can learn how to do that in this guide to connecting to the Omega.